The Flow Builder is where Admins will design and manage their workflows. From the portal home page, click the Flow builder icon to access the Flow Manager. The Flow Manager Page is where you can create, edit and organize your workflows. This will become your workflow library, containing all flow versions created and published.
Navigating the Flow Manager Page
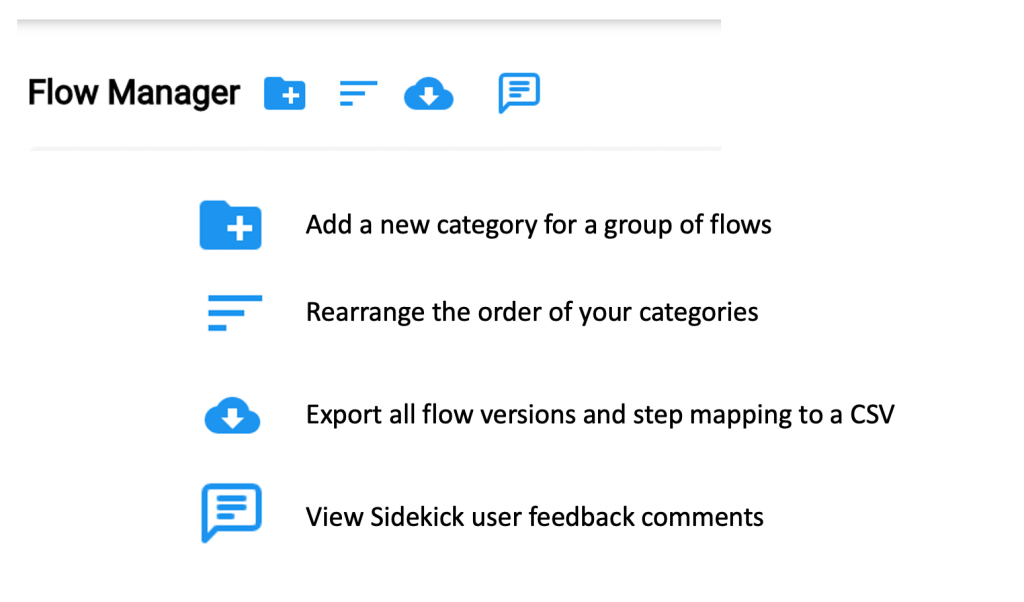
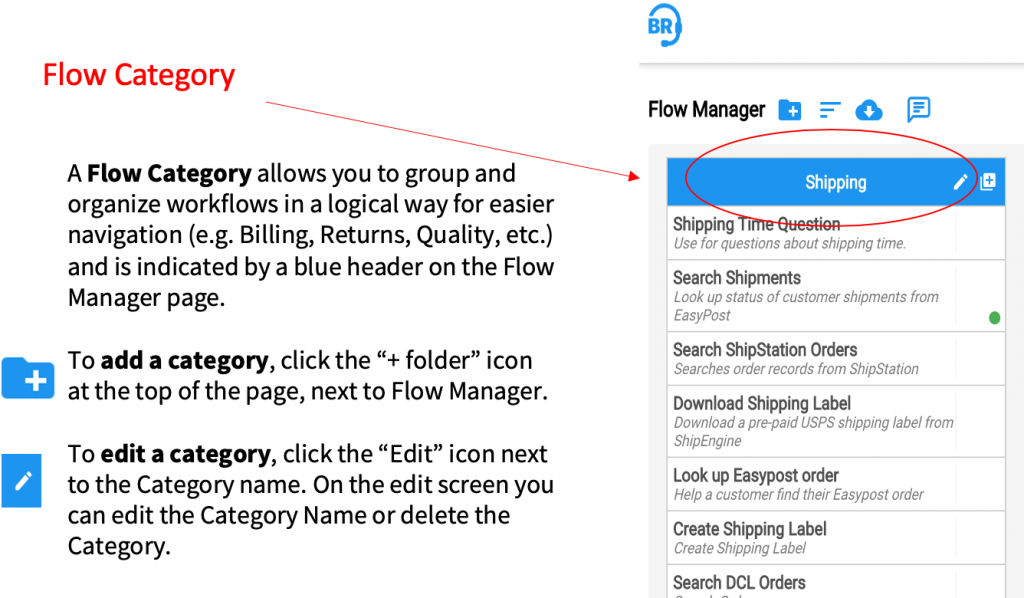
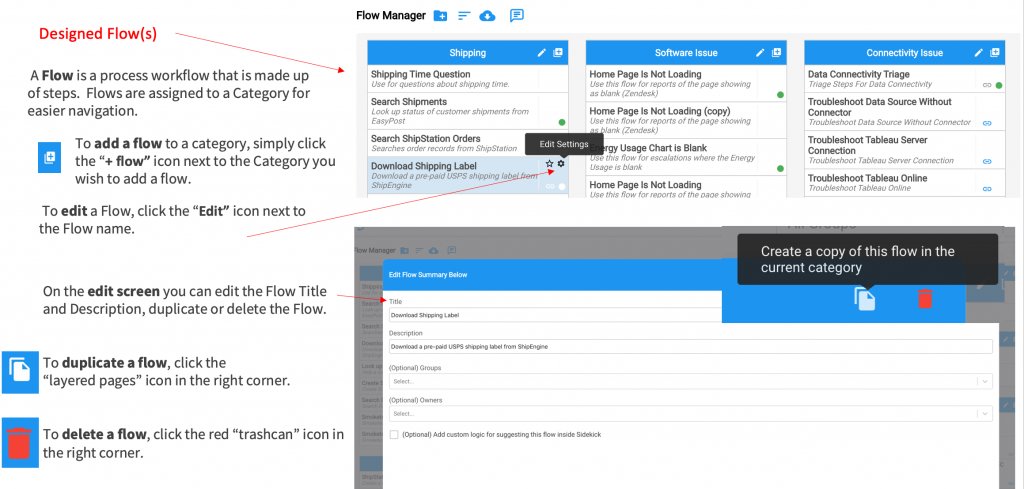
Building your first workflow
[ A tutorial will launch on your initial log in, try it!]
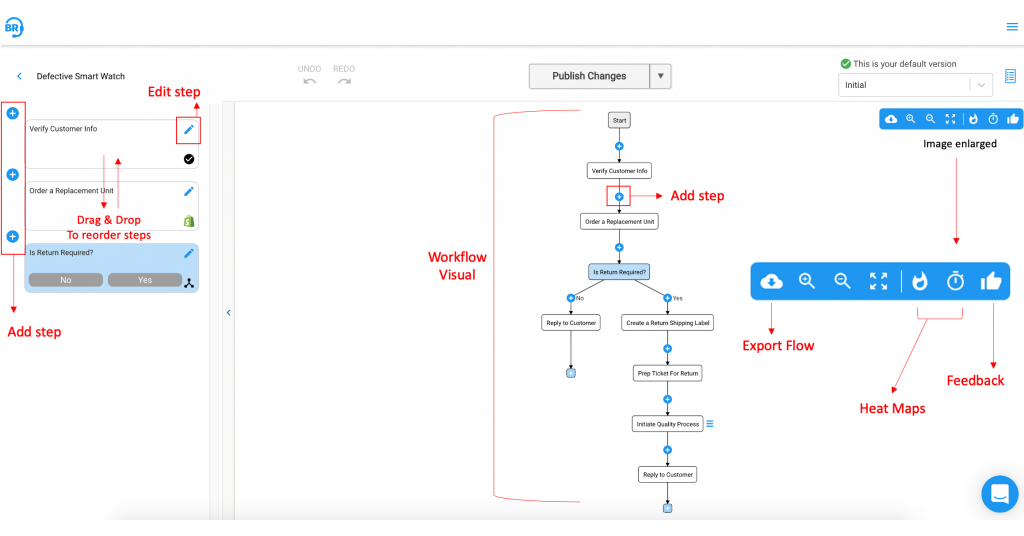
Once you select a flow, you are then routed to the Flow Builder page. Once on the flow builder page you are able to build or edit that flow. From this page you can add and re-arrange steps on the left and view a visual rendering of your flow on the right.
See image below for navigating your flows:
Flow builder components / definitions
STEPS
Steps are the individual steps in a Flow (e.g. Retrieve return shipping label from ShipStation). On the steps screen you can add, re-order, edit, duplicate and remove the steps in a Flow. These step types range from simple rich text steps to powerful integrated steps for a specific function within a third party application (e.g. Generate a replacement order on Shopify, create a shipping label on ShipStation, etc.).
STEP TYPES
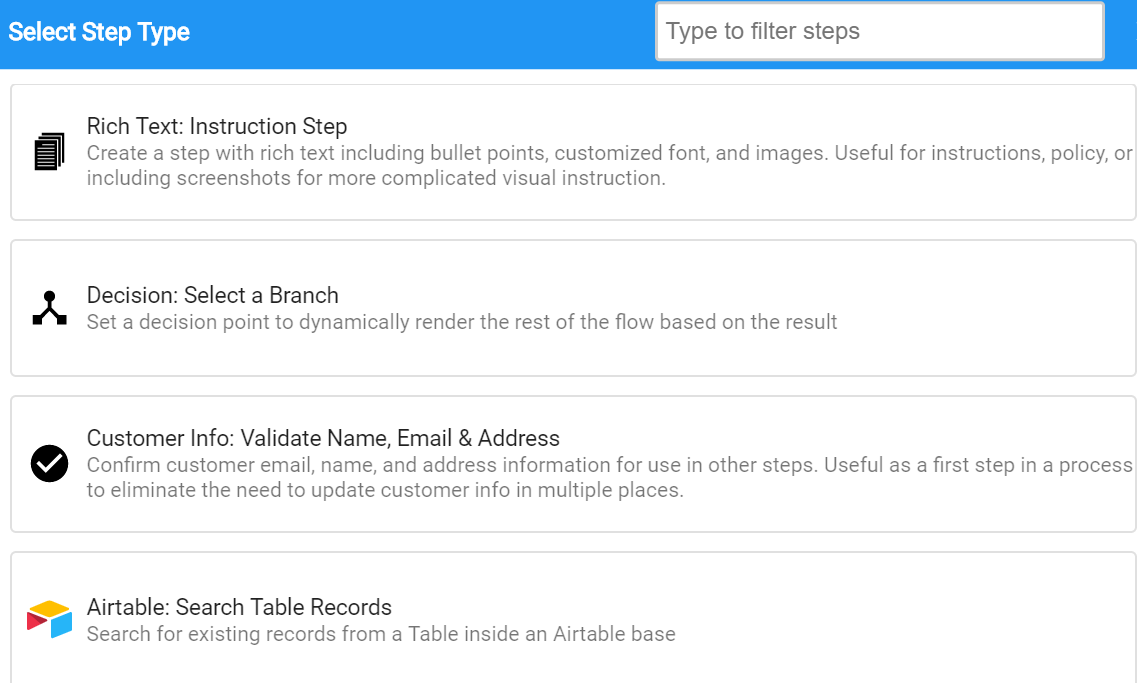
Step types are the different types of steps you can add to a workflow, and these can be found, selected and configured by clicking the ‘+’ (Add new step type) icon in your Flow Builder page.
- Enabled step types will appear as white and selectable
- Disabled step types will show as gray and non-selectable
- Integrated step types will show with a colored logo
- Non-integrated step types will show as a black logo
ADDING STEPS
To add a step click the ‘+’ icon located either at the end of a step or between steps. You will then be prompted to select the step type you wish to add from our Step Type Library. You can search for a specific step type or integration using the search bar.
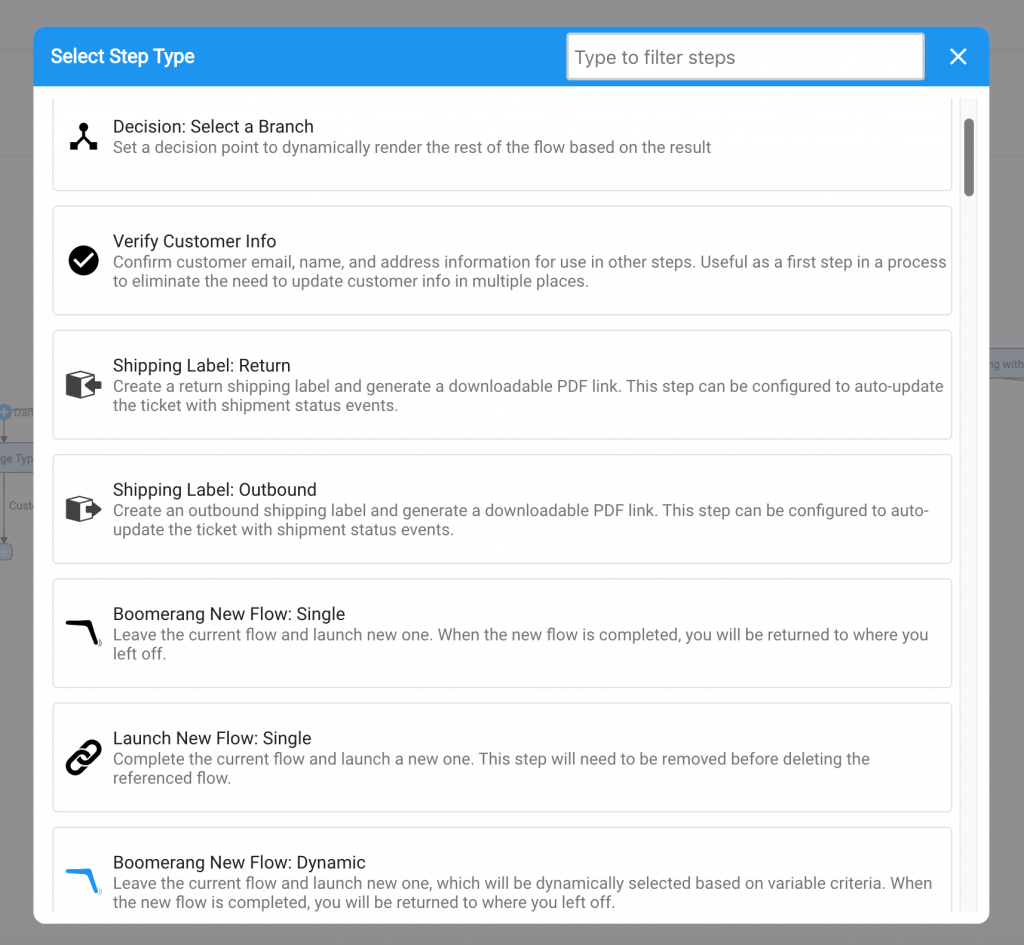
Once selected the configurable fields for that step type display including a Title (displays as a step summary), Subtitle (display as subtext on the step card), and details specific to that step type. Once complete, click Save to add that step.
You can drag and drop steps to re-arrange. You can also add steps by selecting any of the blue plus icons on the flow rendering to the right.
EDITING STEPS
To edit a step click the pencil icon to the right of that step. This will open an editable view to update the title, subtitle and details of that specific step. You can also Delete the step by clicking the red Delete icon or clone the step by clicking the blue Clone icon.

PUBLISH OR DISCARD CHANGES
Once edits are made to the steps in a flow, the Publish Changes and Discard Changes buttons will highlight to indicate that you can either discard the changes or save and publish the changes. Once Publish Changes is clicked, edits will be published real-time to users of BrightReps Sidekick™.
Flow Builder automatically saves your edits as a draft. When making edits you can undo/redo edits made in that session. Select “Discard Changes” to discard edits since the last published version. Select “Publish Changes” to publish your current edits.


