The Stripe integration lets you use a customer email address to view all the recent charges that customer has.Under the Integrations Lab page, find Stripe and click the "Set Up" button.
The Stripe integration requires an API Key for authentication. To obtain an API Key follow the instructions on the Stripe documentation page by visiting https://stripe.com/docs/keys.Copy the API Key and then go back to the Stripe integration page and paste the key into the "API Key" field.
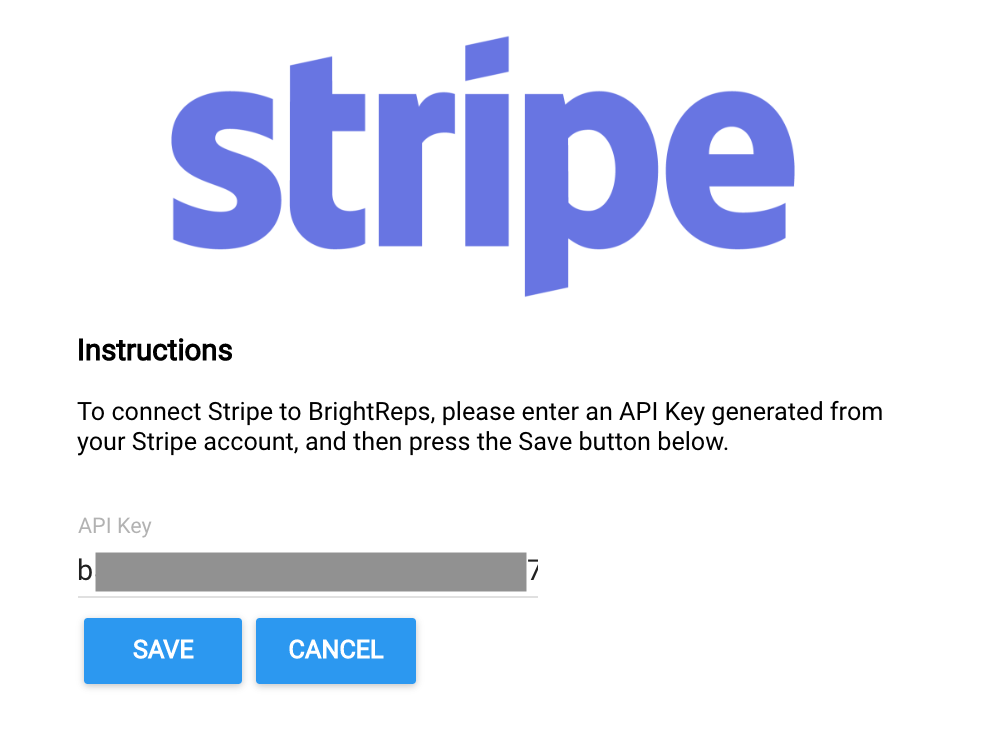
Click save to finish setting up the integration. If everything went well you should see the screen update and the Status should read as "Connected".

The step type is now active and enabled in the Step Types for the Flow Builder.

Configuring the Step Type
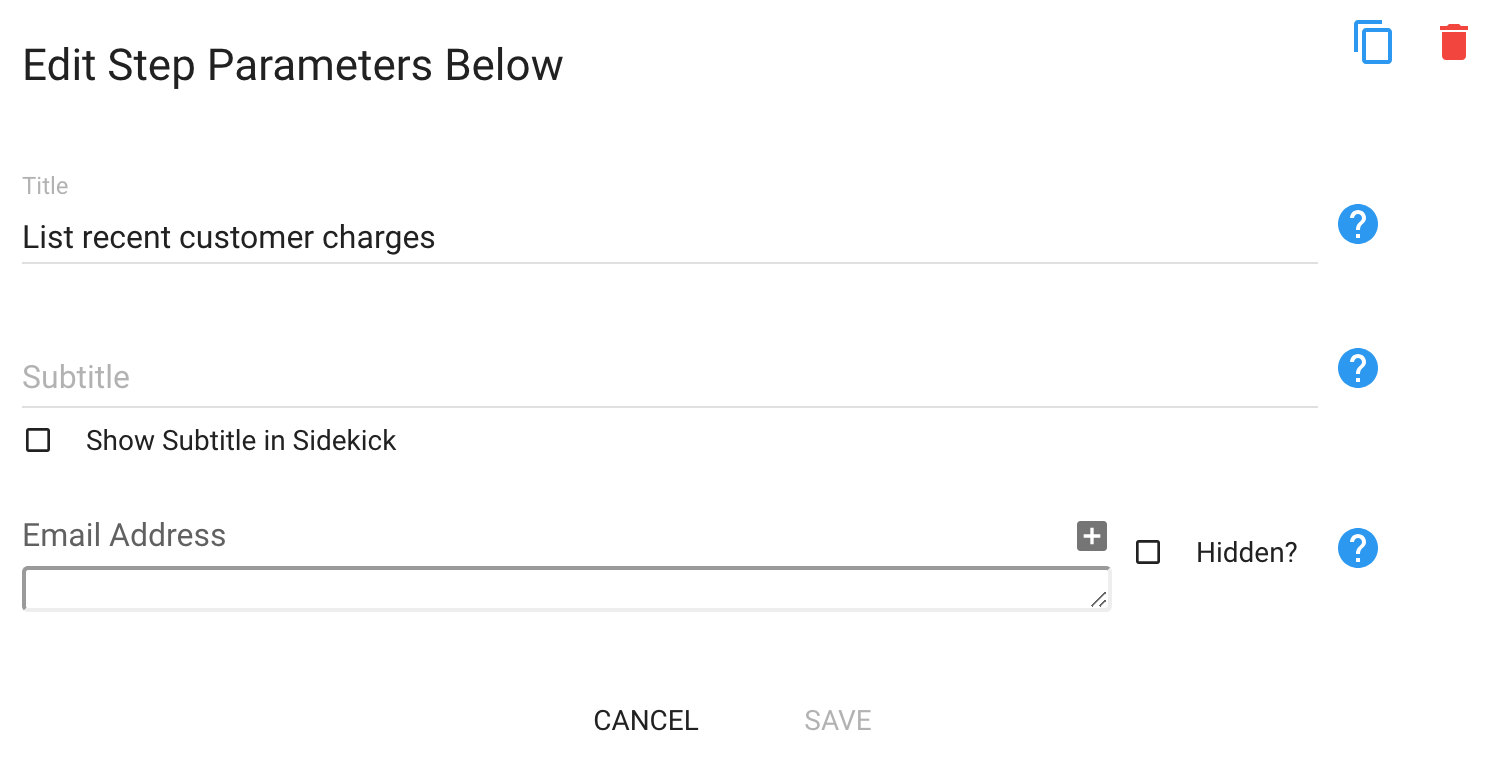
- Email Address: Enter a default value for the email address
Note:
- Default Values or Empty: There is no need to specify a default value and the field can be left empty for the Rep to fill in.
- Dynamic Variables: You can use dynamic variables for the value by clicking the “+” icon on the right. That will show you all the variables that are available for you to use.
- Hidden: If you’d like not to show the field to the Rep, then add a default value and select the "Hidden?" checkbox.
Example Use Case in Sidekick


