
Configuring the Step:
From an existing flow on the Flow Builder
- Click the plus (+) icon to add a step
- Select “Wrike Create New Task
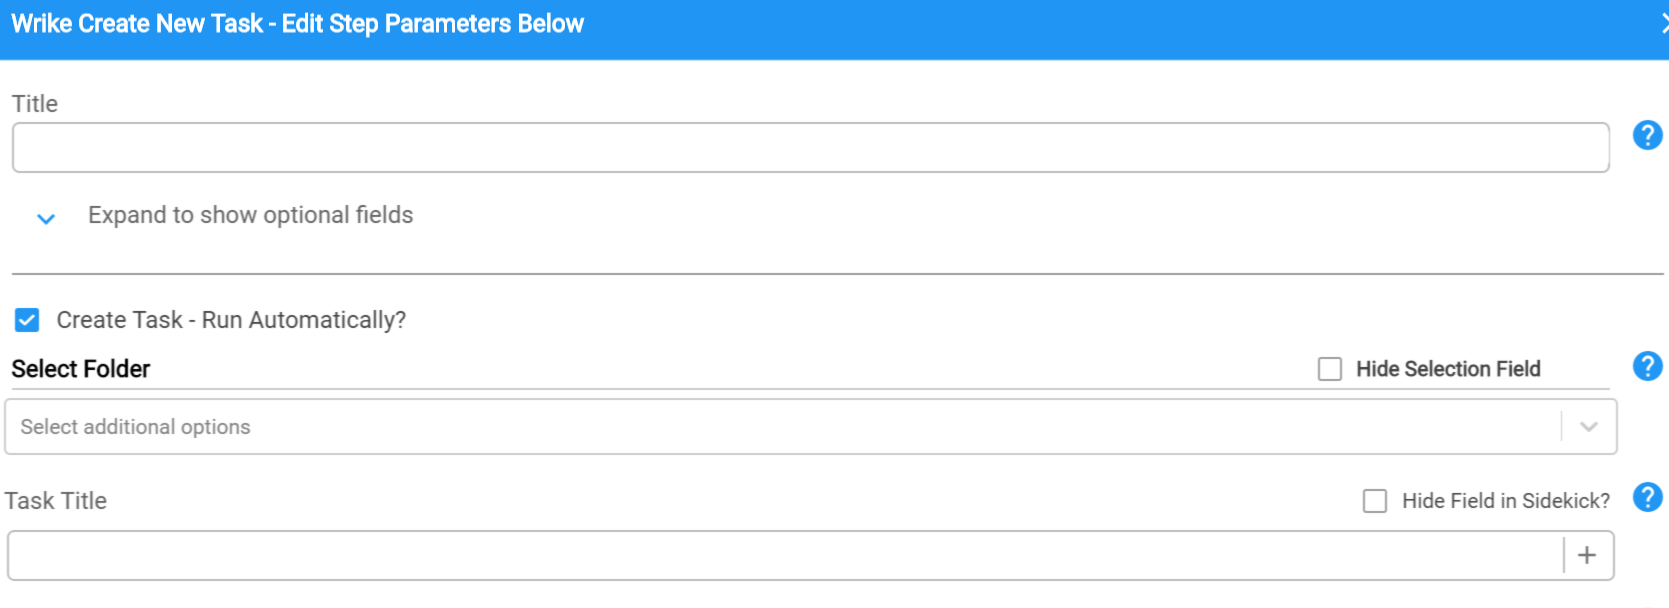

- Select Folder: Here you should see a list of all the ‘Folders’ under your Wrike account. The Rep will see a dropdown in Sidekick allowing them to select a Folder to create the task under.
- Task Title: Set a default value for the task title or leave it empty for the Rep to fill in.
- Task Description: Set a default value for the task description or leave it empty for the Rep to fill in.
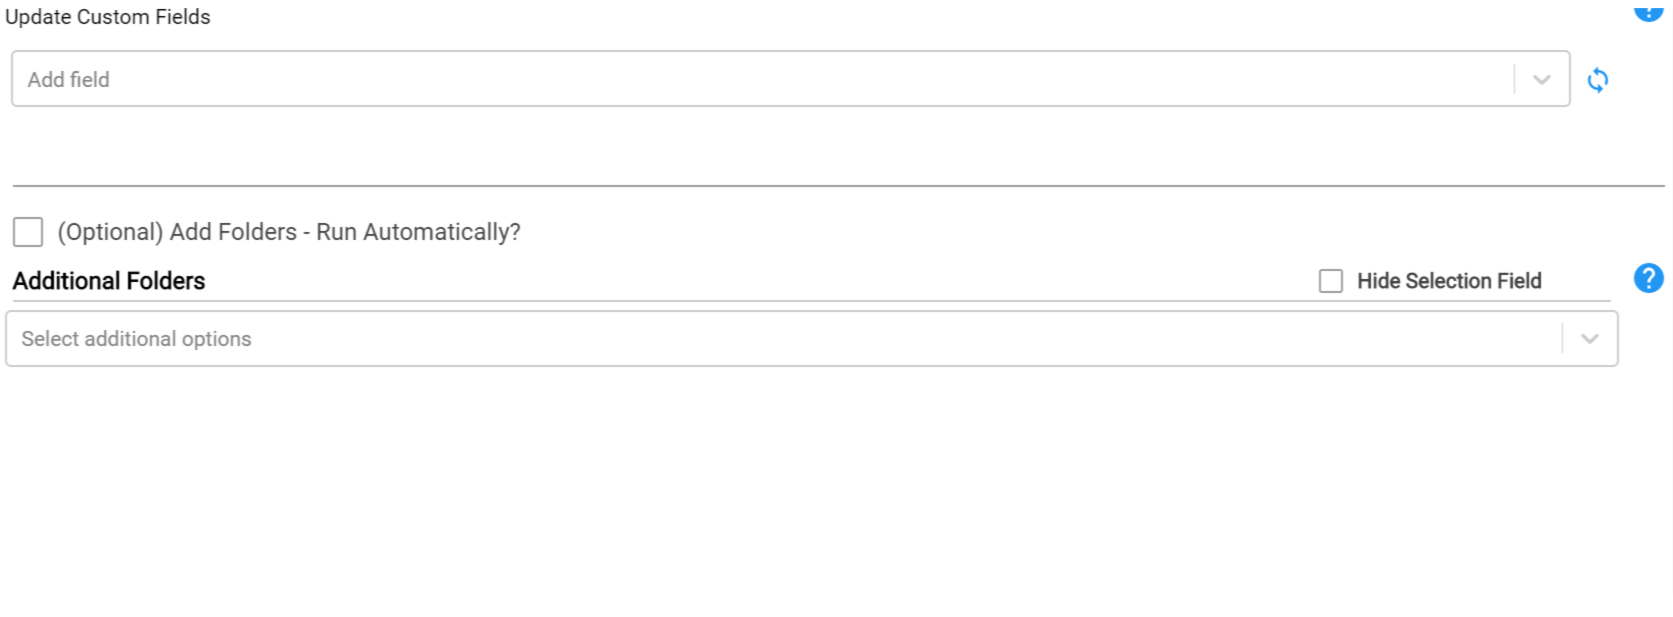
- Update Custom Fields: You can select custom fields as part of this step which will be updated.
Note:
- Default Values or Empty: There is no need to specify a default value and the fields can be left empty for the Rep to fill in.
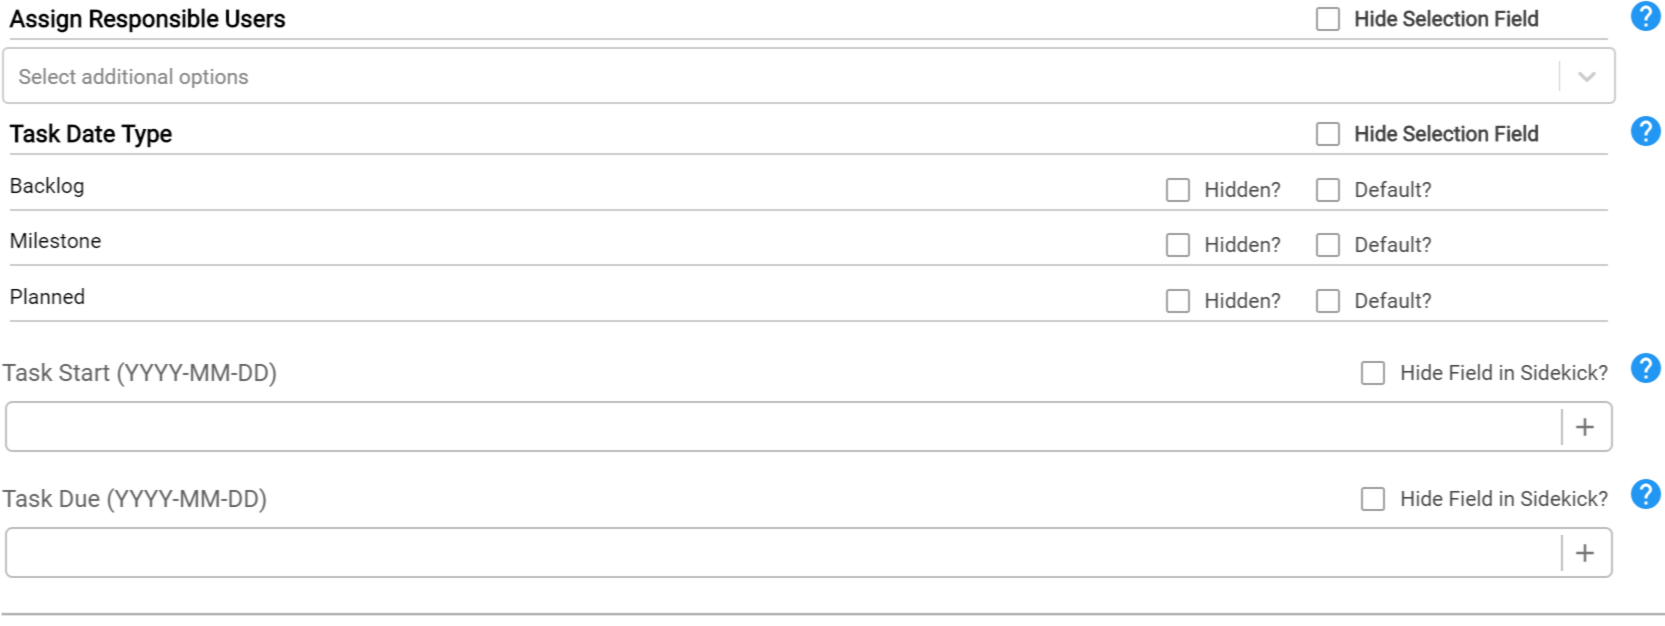
- Dynamic Variables: You can use dynamic variables for all the values by clicking the “+” icon on the right. That will show you all the variables that are available for you to use.
- Hidden: If you’d like not to show the field to the Rep, then add a default value and select the "Hidden?" checkbox.
Example Use Case in Sidekick


