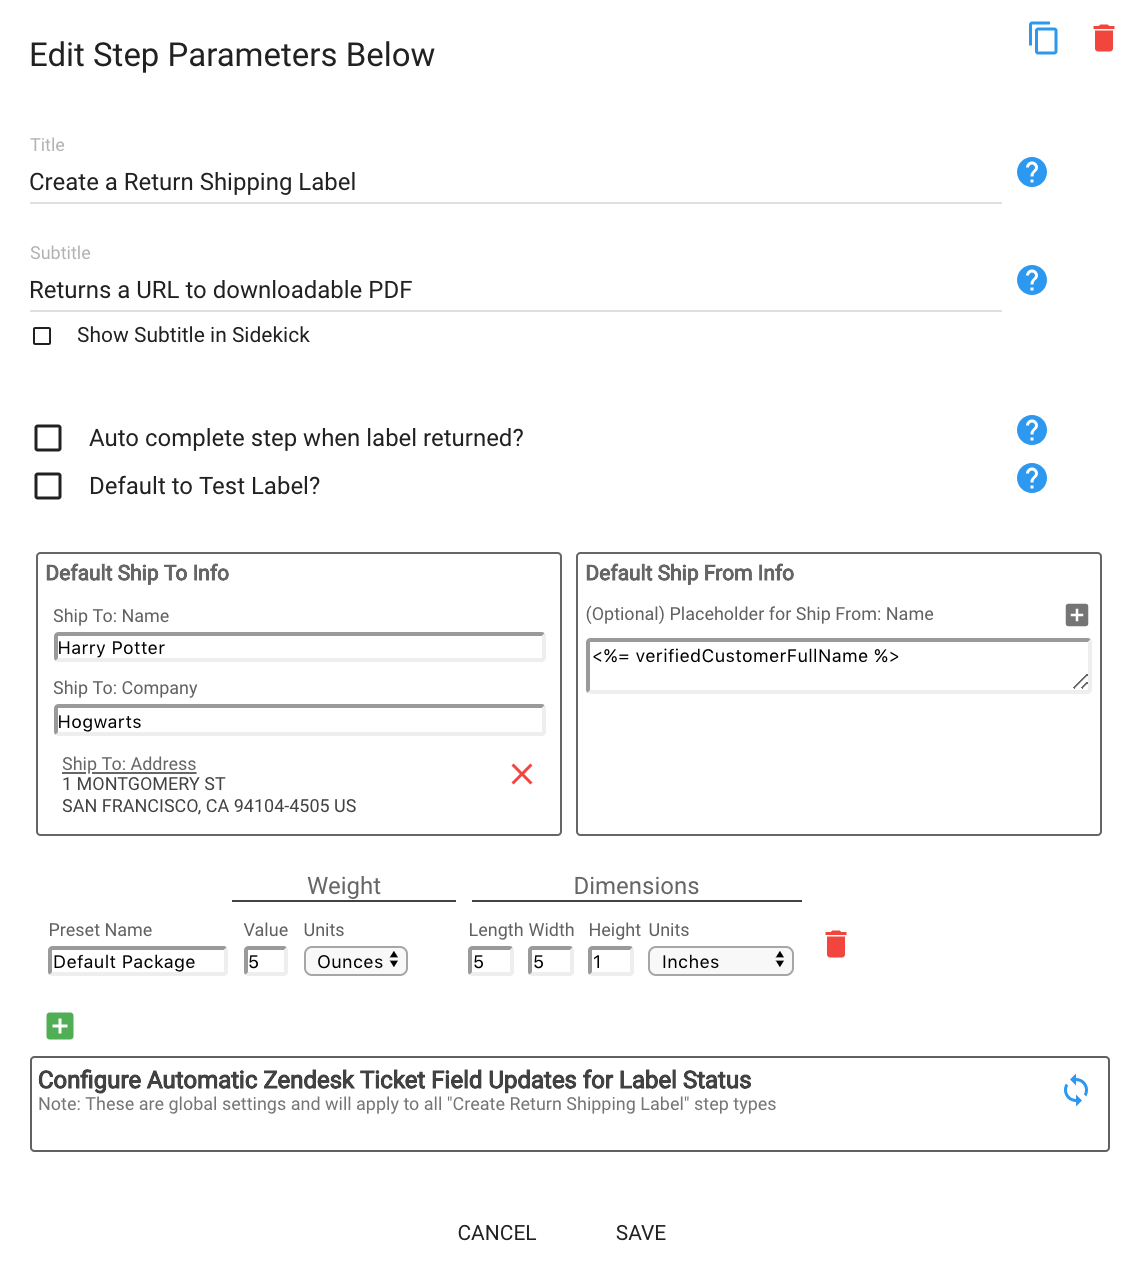
The Create Return Shipping Label step is a non-integrated step provided by BrightReps that enables the user to create a return shipping label. Labels created using this step will be billed from BrightReps standard billing process and do not require your team to have an account with a third party shipping provider.

As an Admin you can define the following attributes when configuring this step in Flow Builder:
Default Ship To Info:
- Name
- Company Name
- Address: when typing, the address will be suggested by Google maps to assist in populating the full address. You will then need to click "Validate" to validate the address using the postal service. Validating the address, ensures the shipment can be fulfilled for that address.
Default Ship From Info:
This will allow you to define the default 'Ship From' information. For example, if as part of the flow you have a "Verify Customer Info" step prior to this one, you can select the "Verified Customer Full Name" tag from available options in the drop-down menu, which will pull the verified customer name to dynamically populate this field.
Package Attributes:
You can use this section to create custom preset options (e.g. Weight, Dimensions) for packages for the Sidekick rep to select when creating a return shipping label. This will eliminate the need for the rep to define these attributes on a case by case basis. To add a preset, click the green '+' icon and to delete one click the red trash icon.


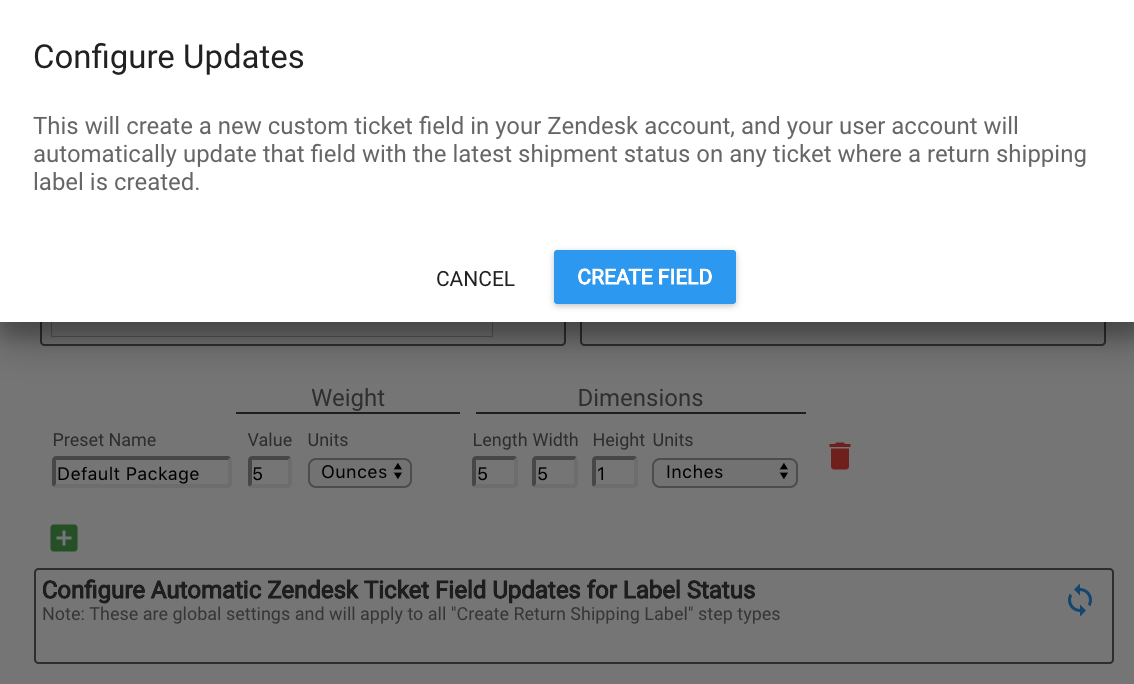
Configure Automatic Ticket / Case Field Updates for Label Status
By selecting this option, Sidekick will create a field on the Zendesk ticket or Salesforce case record: Return Shipping Label Status (BrightReps). This field will then be populated with the current status of that return shipping label and will automatically be updated as status changes occur.

Once activated you should see a green check mark next to this option. You only need to activate this option once and then all subsequent "Create Return Shipping Label" step types will also have the automatic updates enabled.

Note: You can only active this option if you have Admin user permissions for your Zendesk or Salesforce instance


